Quite simply, they bring the Forzavista experience to life by making sure that
the player can easily perform all expected interactions with the car regardless of its state.
But there is nothing simple about that at all! It takes a good initial plan, countless iterations,
and relentless tuning to bring the magic of Forzavista to a car.
In order to be as efficient at possible without sacrificing quality I divided the tasks up into several phases.
What follows is a brief overview of my workflow:
Research
As with most design tasks,
it was very important to research and test each car before starting work in order to ensure the most authentic user experience.
I often combined these tasks together, beginning with the confirmation of all animations and their ranges.
If I found that doors were opening to the wrong angle or if an animation was missing,
I would enter a detailed bug explaining the problem and suggesting the best fix.
Once testing was completed I would search the car for any unique items,
such as oddly placed interior door handles, the starting mechanism, and any other special features.
Upon finding such items I would make notes to use when placing the associated pins so that
I could draw attention to them and allow players to learn a bit more about the car without the need for a single word.
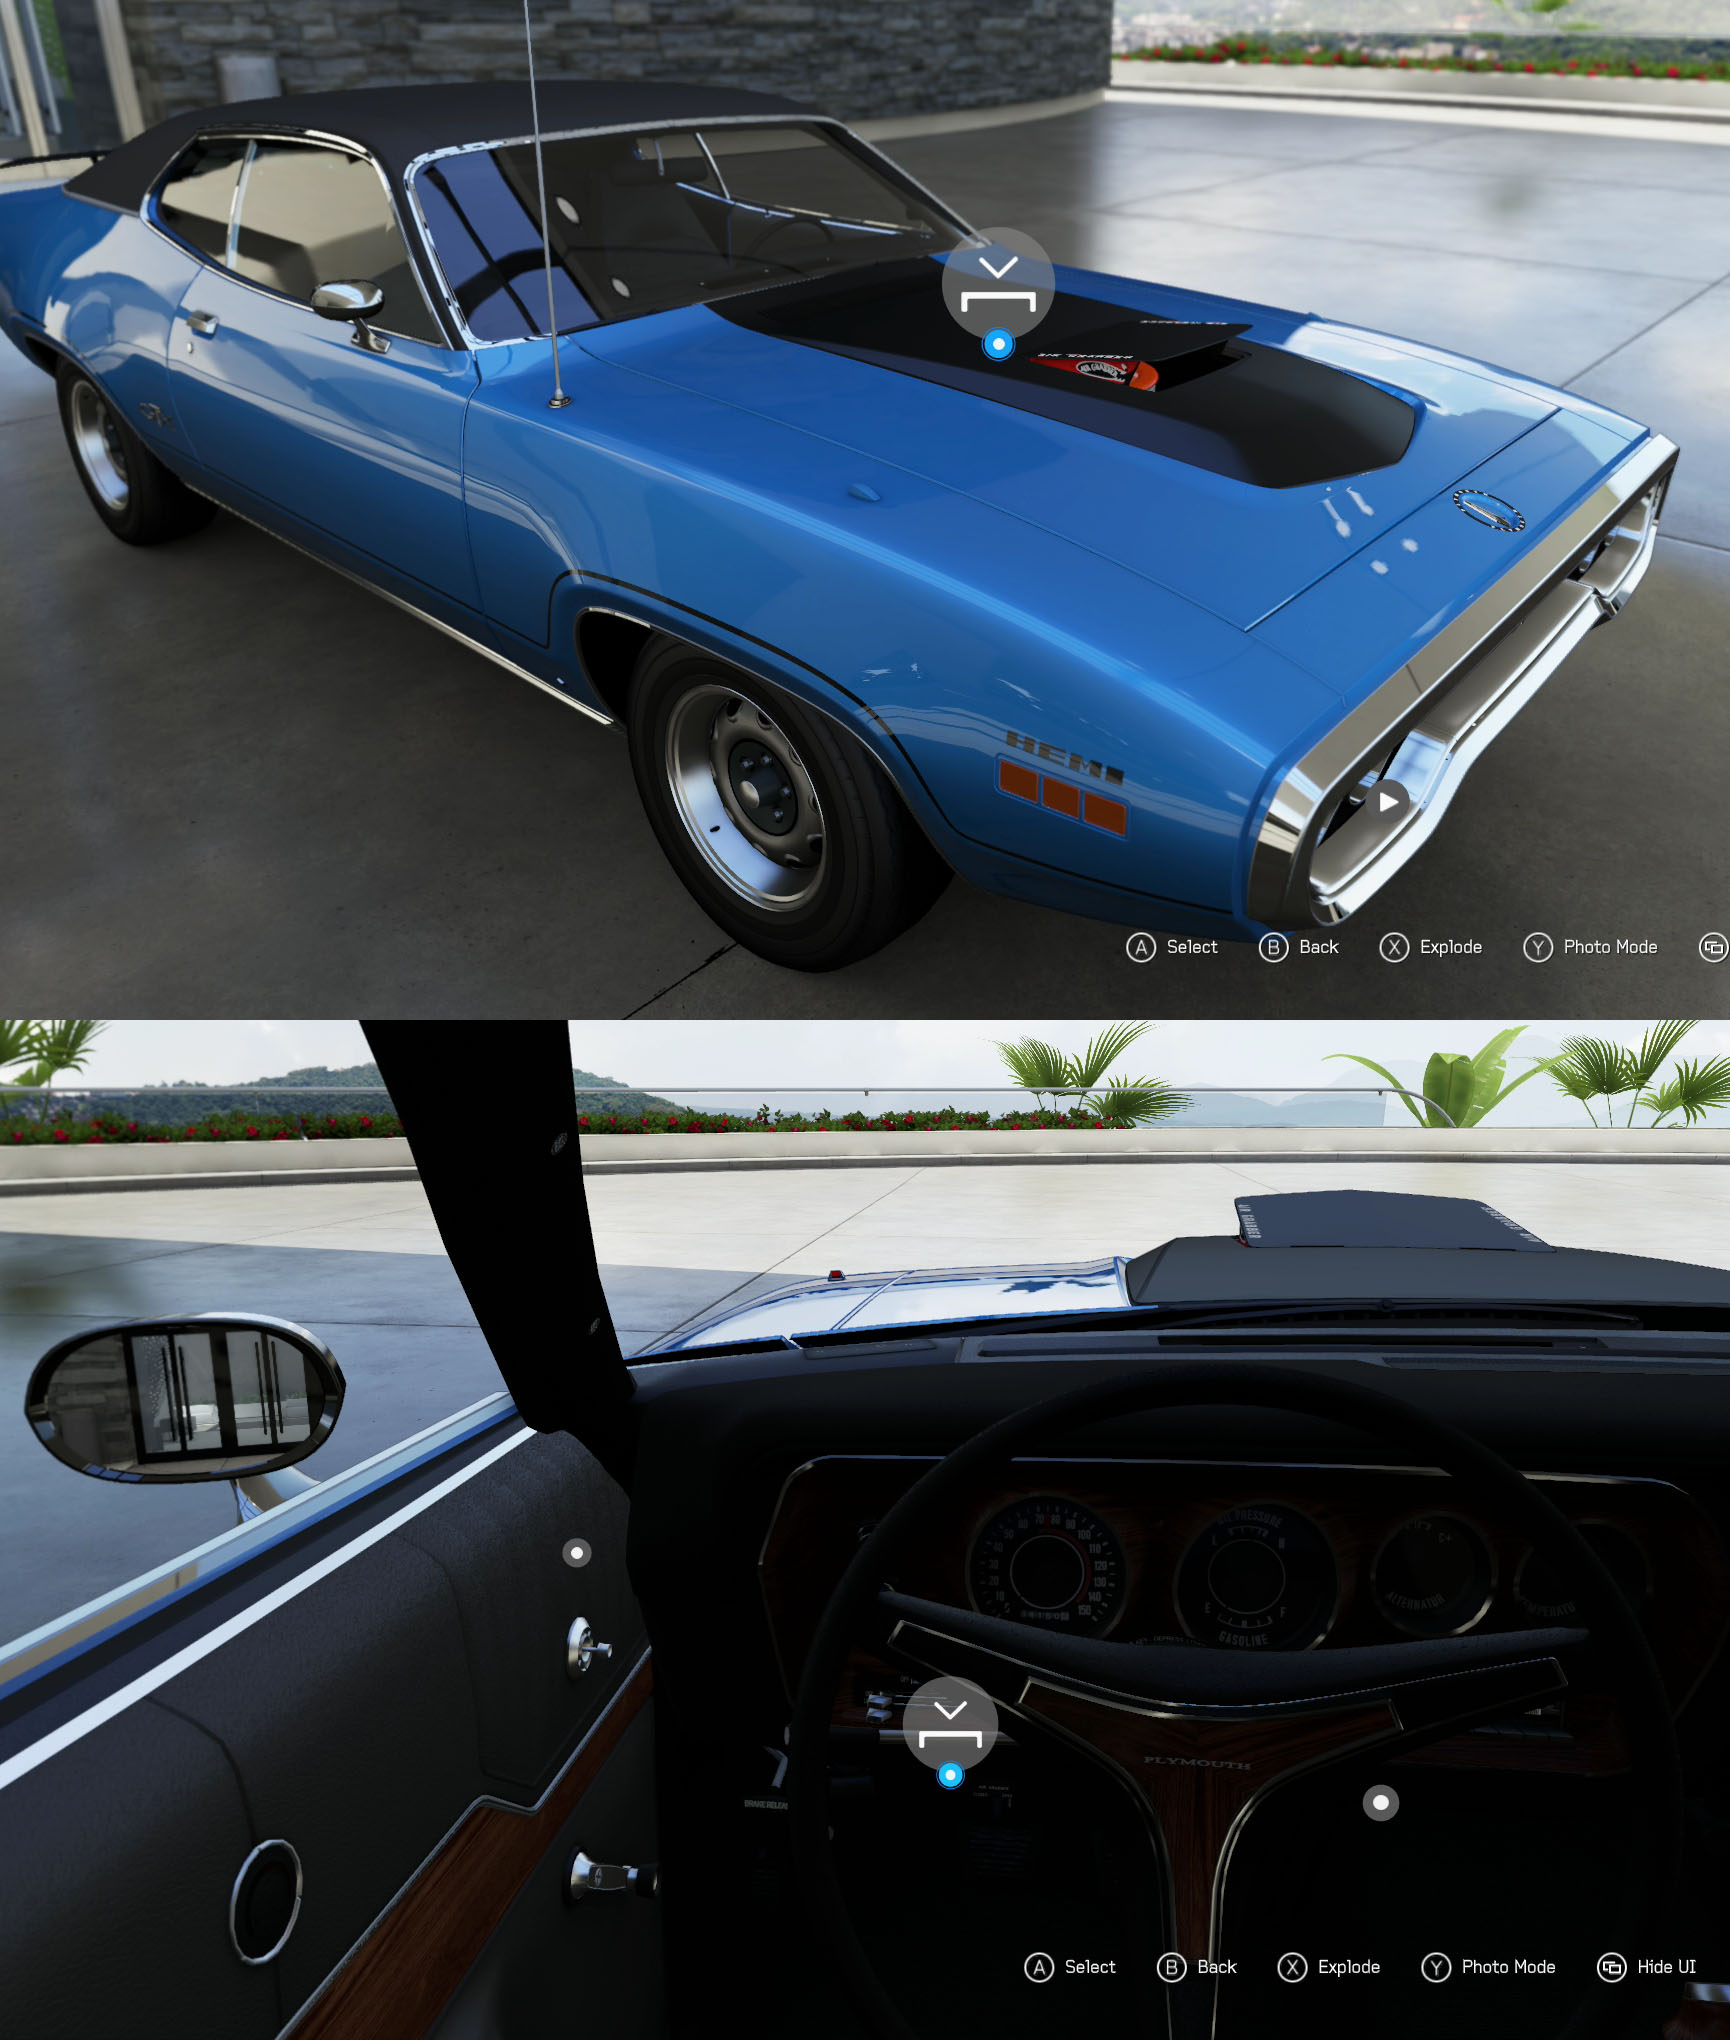
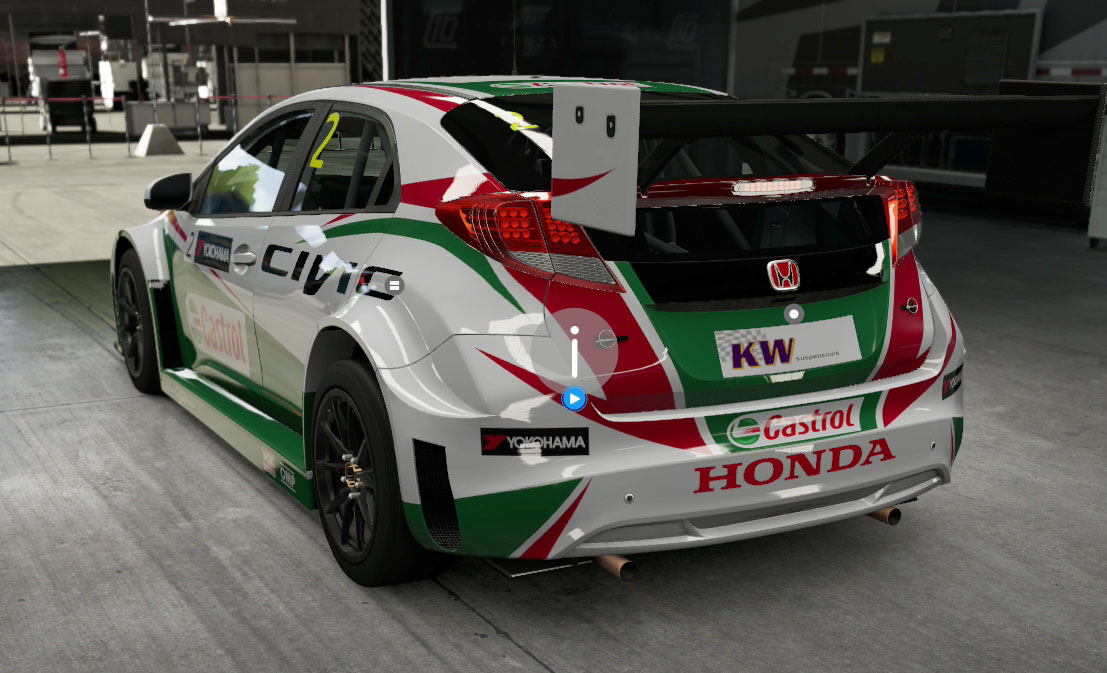
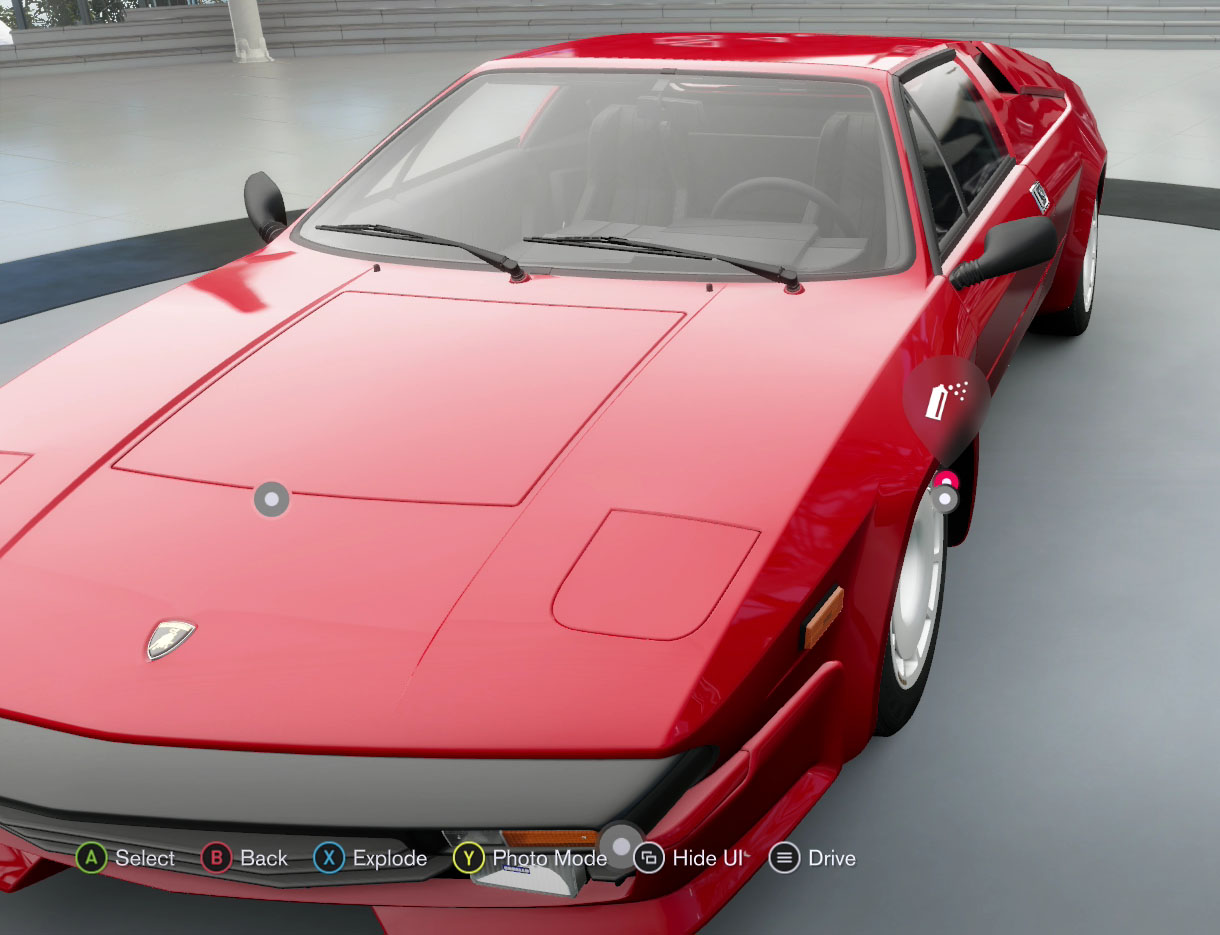
Exterior Pin Placement and Tuning
Many Forzavista designers preferred to start by placing and then tuning the visibility of the pins on the exterior of the car,
and this is where I would start once I finished with all research and testing.
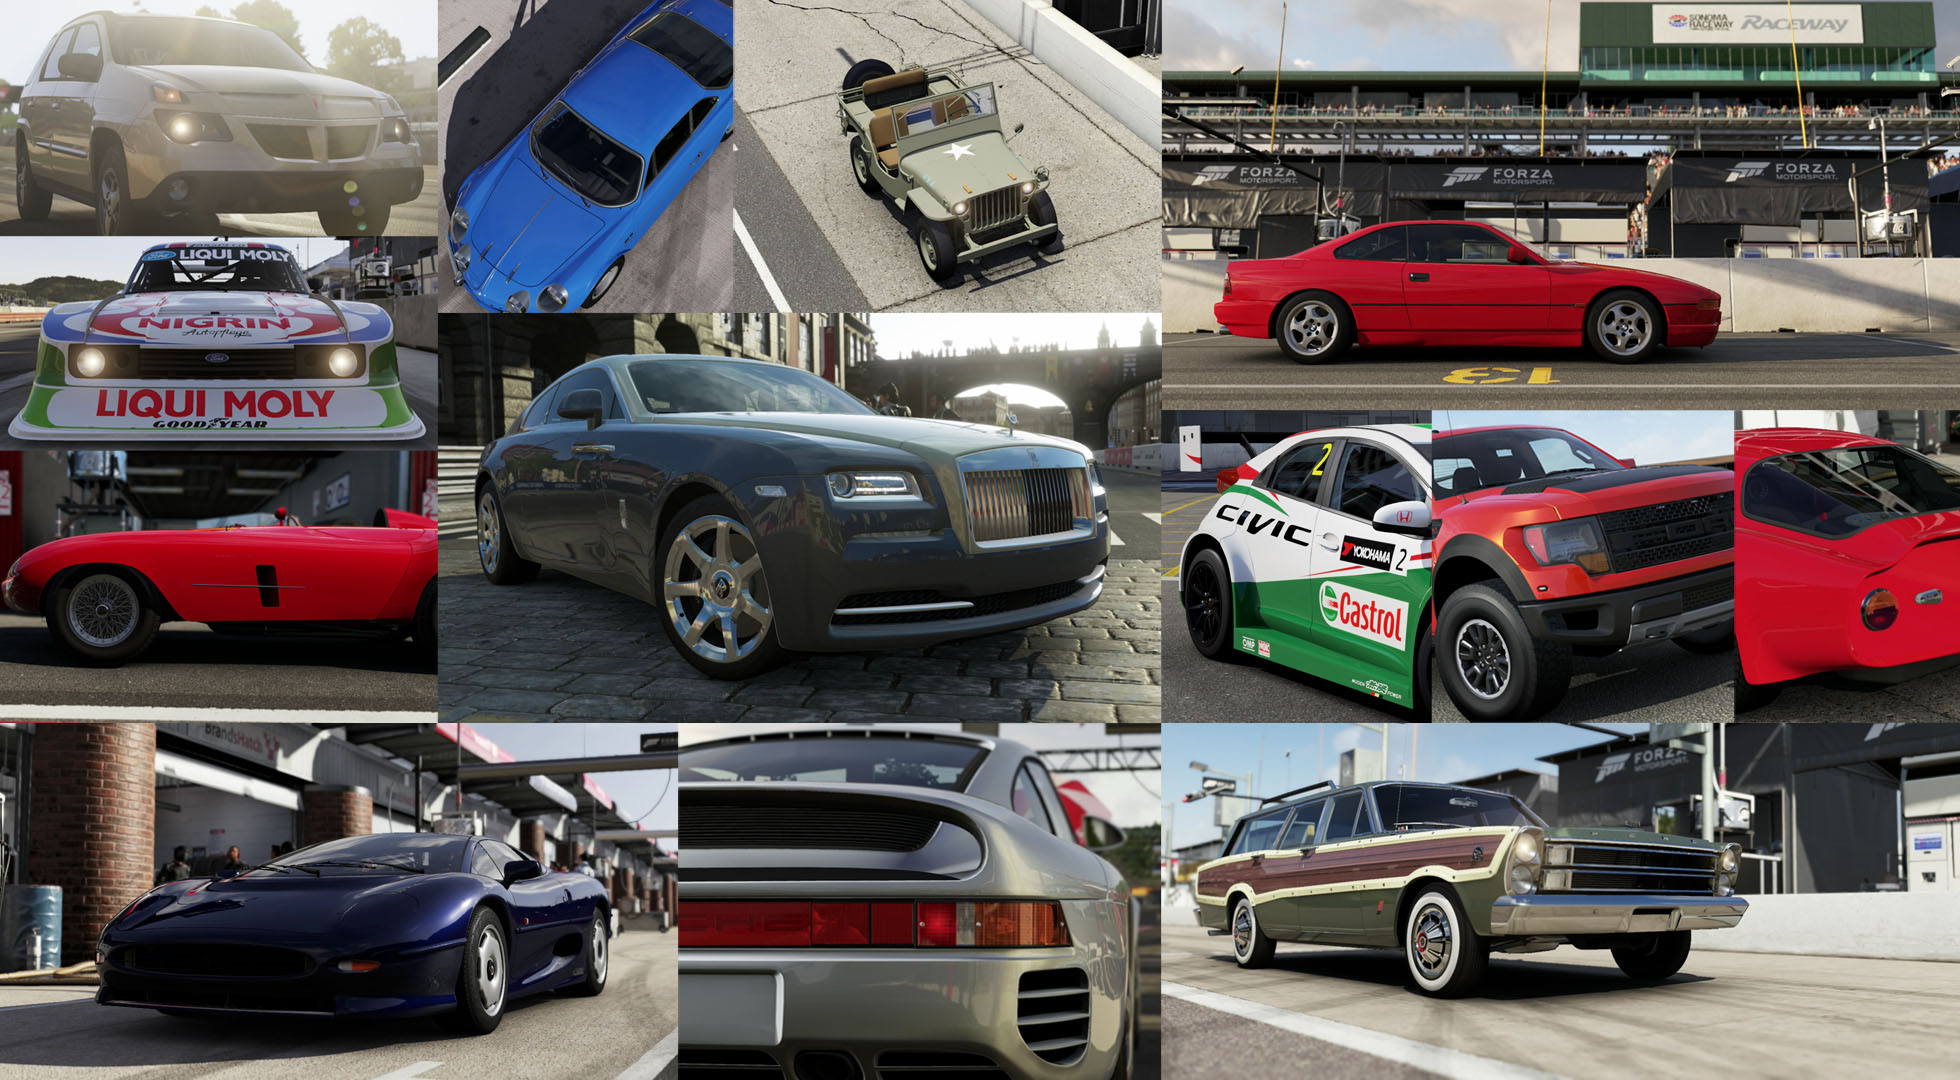
Every car would have a minimum of six pins placed around the exterior,
but such cars are the exception and not the norm. While an average two door car might only appear to need 16 or so pins,
just adding rear doors would increase this to 22, and the pin count wouldn't necessarily stop there.
A goal of Forzavista is to display pins as close as possible to the location where a real life action would take place,
so reverse opening hoods and trunks relocate their open and close pins to the sides of the car,
and add an additional set of pins so that the hood or trunk can be closed from the left or right.
Cars are wonderfully different, so even more variations can occur.
Some cars have glass roofs (also known as T-Tops), a sport roof (also known as a Targa Top), a removable hard top,
or a mechanical convertible top.
Each of these top variants requires its own set of Open and Close pins.
Beyond that, there are cars with a trunk lid and an engine cover in the back,
like the real Toyota MR2s or the Lamborghini Jalpa, some cars feature storage compartments,
like the McLaren F1, and many modern performance cars have active aero, like the Audi R8.
A few cars even have oddities such as a folding windshield, like the Willy's Jeep.
Regardless of the special feature, each always required more pins, more tuning, and more testing to add to the experience!
Outside of the general features of stock cars, any aftermarket parts would often require additional pins,
or changes to pin placement.
Almost every car in the game had at least one aftermarket front bumper and rear wing,
and these parts commonly complicated pin work as I always has to make sure the pins supported every state the car could be in.
With all these possible variations most cars would need quite a few more pins than one might expect upon first inspection,
so exterior pins could take some time to get just right, especially if the car needed more than 75 pins, like the 1953 Ferrari Mondial.
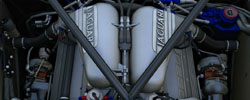
Engine Bay and Trunk Setup
If the car allows access to the engine bay I would need to set up a camera override to look at the engine bay
and a pin to allow the player to enter the engine bay.
To handle being inside the engine bay I would define the camera position within it and add a second camera override
to give a nice close up view.
The cherry on top of this setup would be the placement of tour pin to play a short cinema focusing on the engine.
All of this camera work required a lot of tuning to get just right,
as it was the only opportunity for the player to get a good look at the engine.
As with exterior pins,
if the hood/engine cover was of the reverse opening type then I would need to duplicate and test all my work
so that the player could experience the engine from either side of the car.
The trunk was much simpler, but still required a great amount of care.
Like with the engine, it would receive a camera override that would draw the camera's focus into the trunk.
This focus needed to be tuned in order to show as much of the detail of the trunk as possible,
as there is no camera set up inside the trunk.
Also, as with the engine, if the trunk lid is reverse opening, then all the work must be duplicated, mirrored,
and tested for the other side of the car.
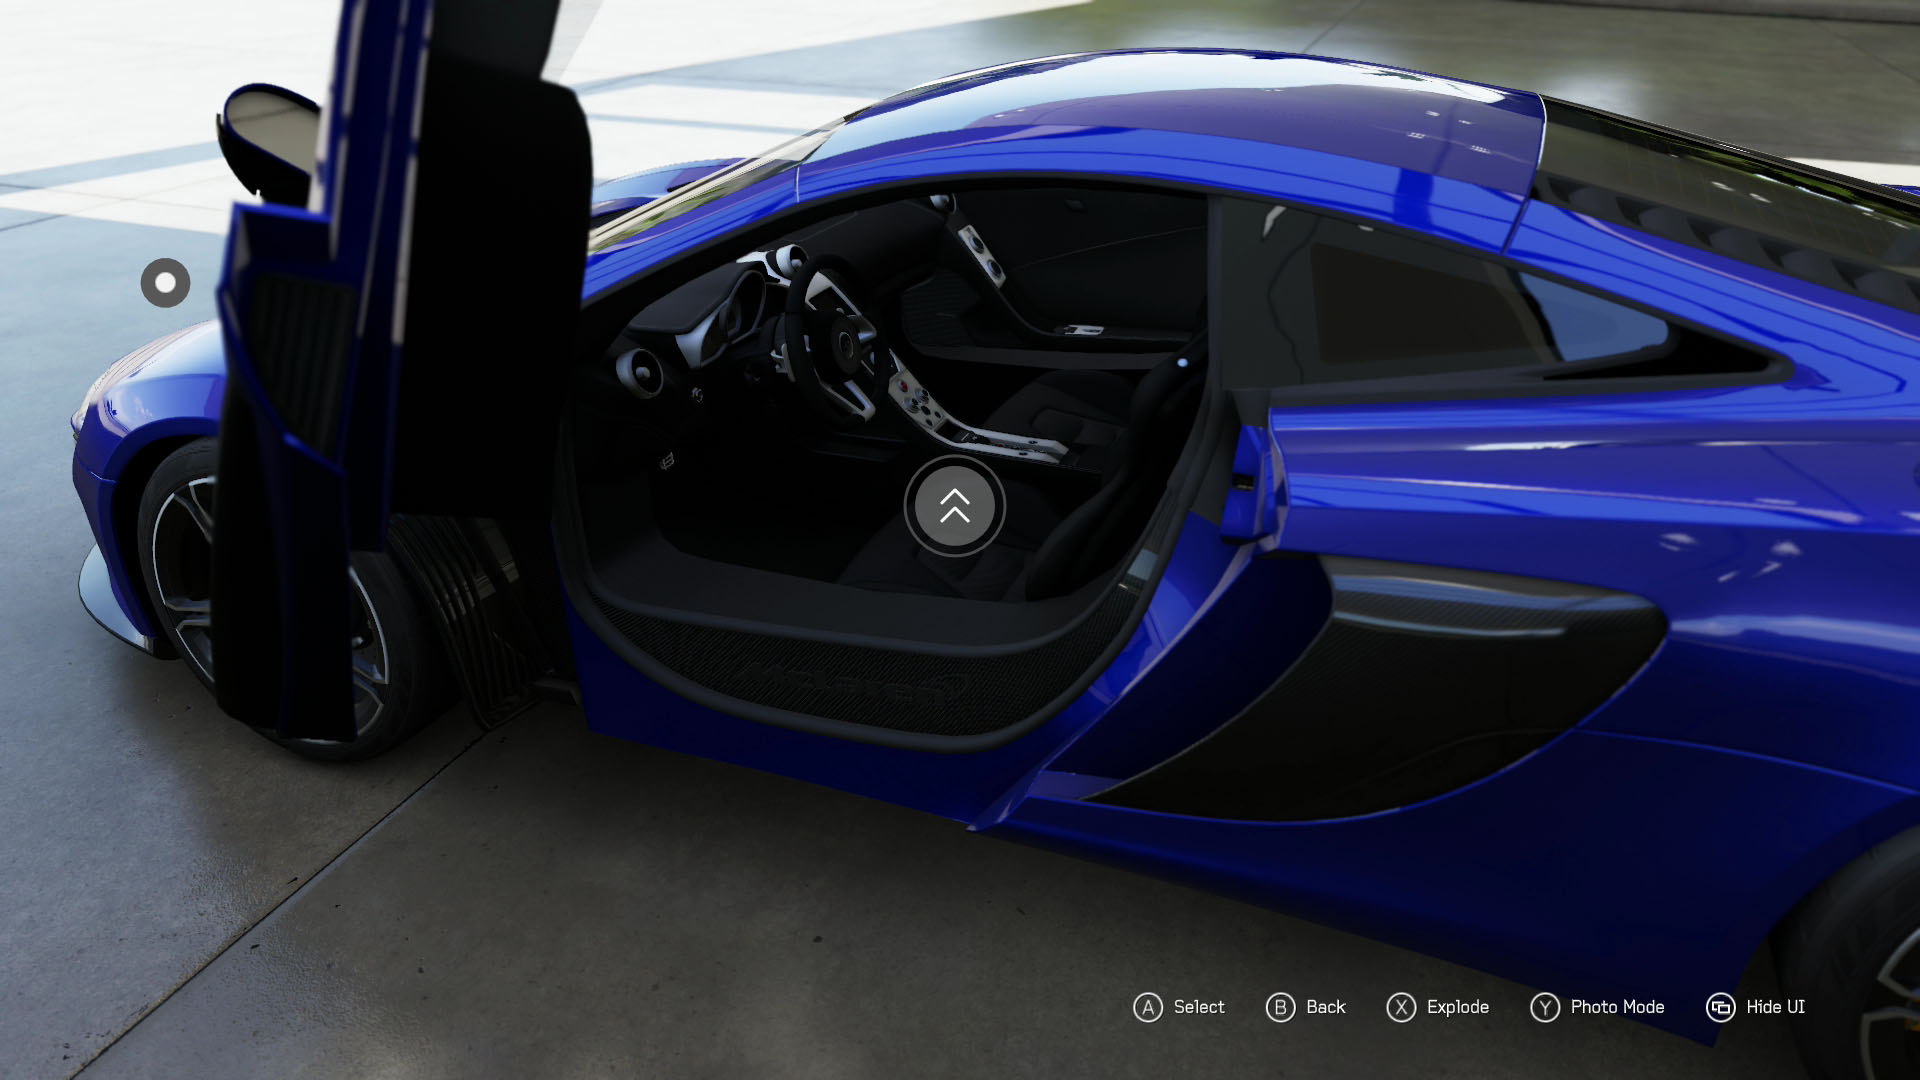
Interior Setup
The first part of the interior involves setting up the pins to allow the player to actually get into the car.
This is very similar to how the engine was set up,
as I would place and tune both a camera override and a pin to allow the player to enter the car.
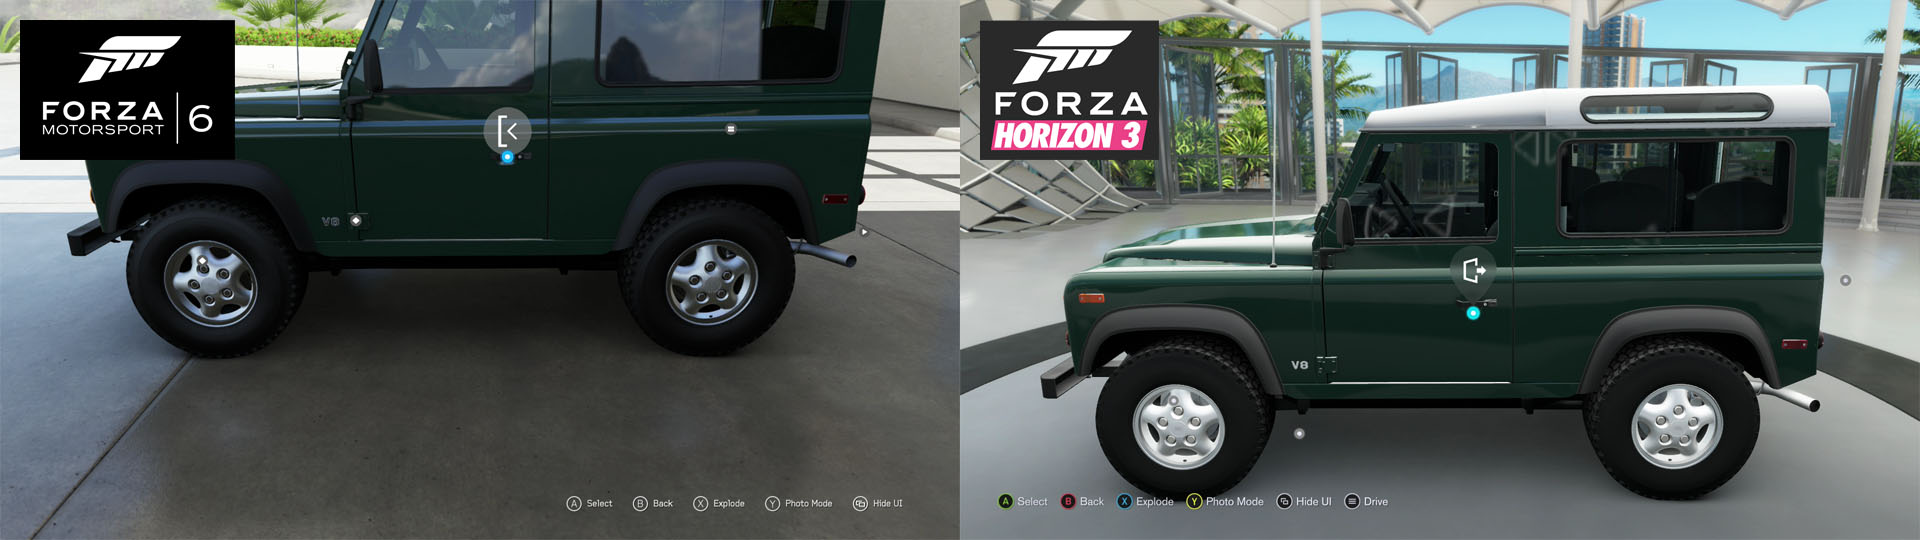
Once I completed this for the driver's seat, I would duplicate and mirror my work to the other side of the car.
Naturally, it was important to test the mirrored values to make sure that they worked correctly.
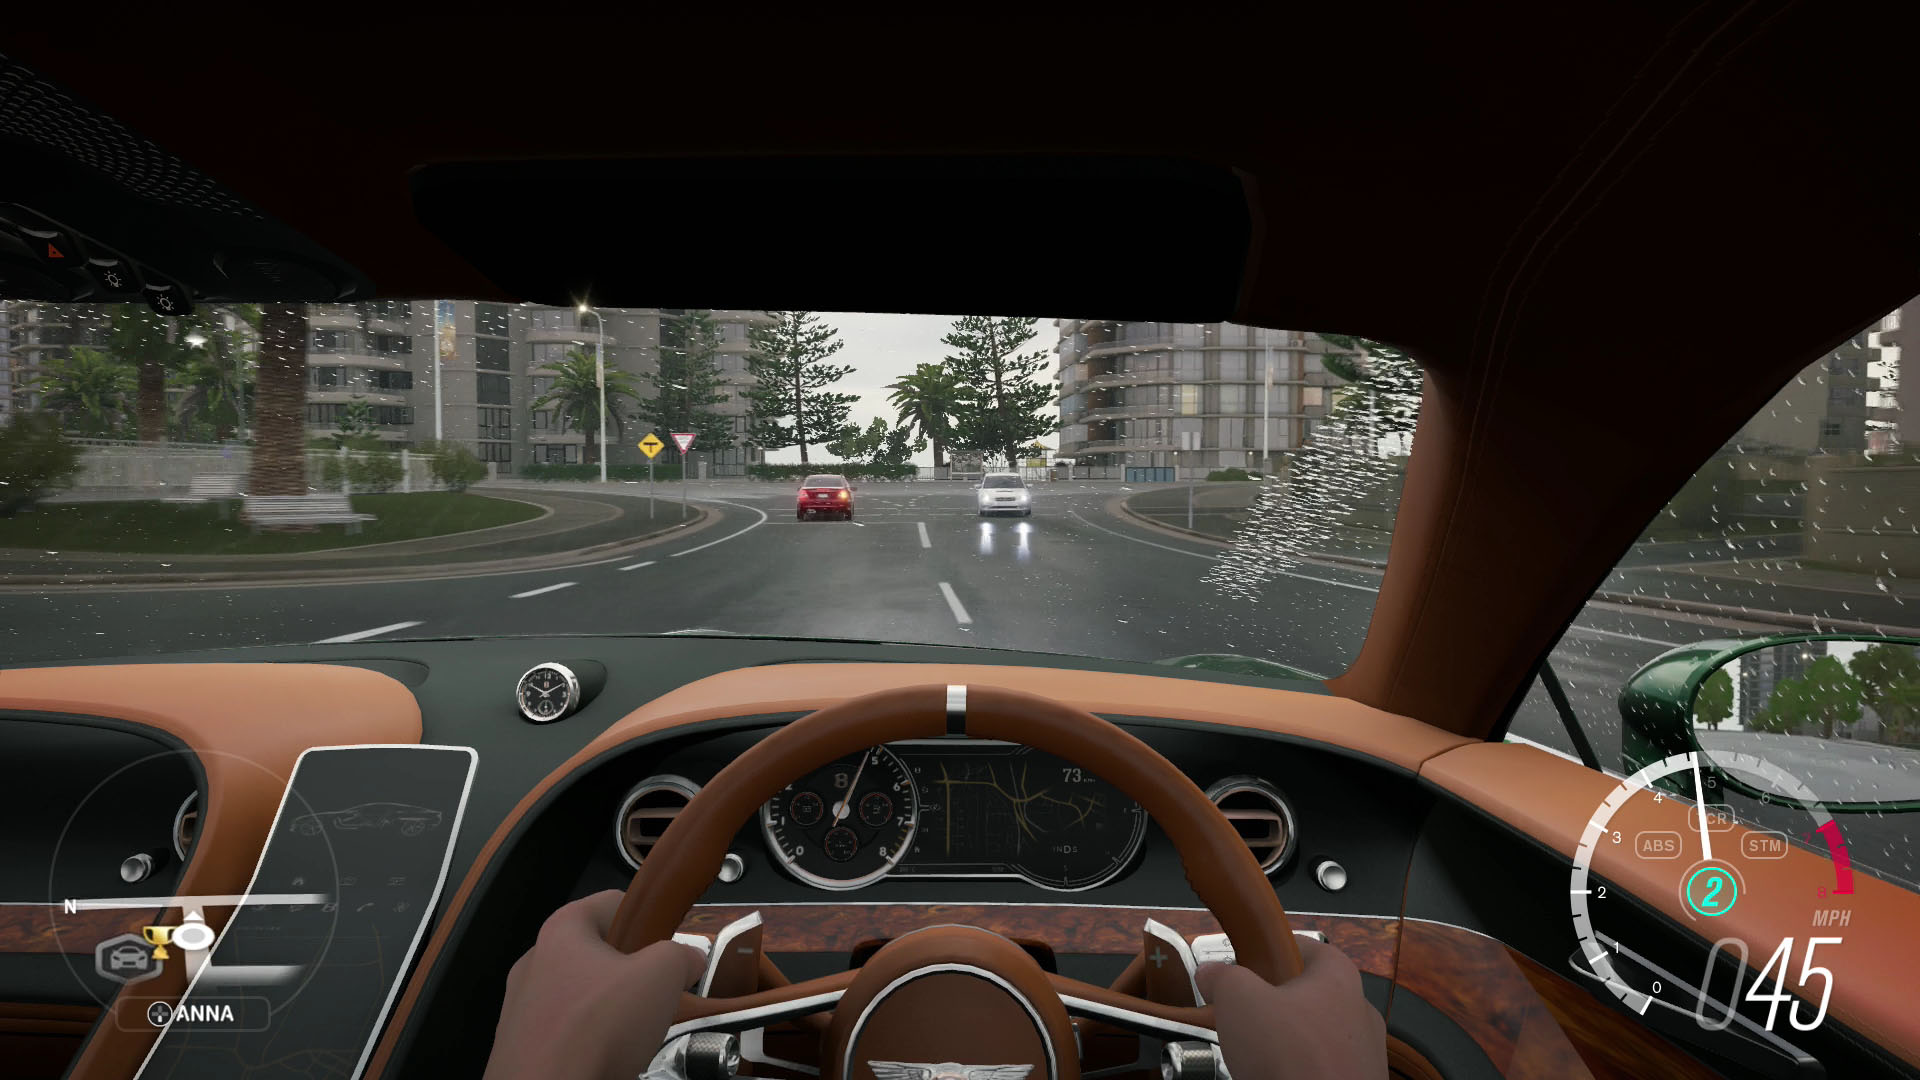
With the entry sorted, I would move to the actual interior.
I would begin by setting the camera position within the driver's seat,
and then creating camera overrides to draw the focus of the camera when the player moves left or right in the seat.
Next I would place the pins to start and stop the engine at the appropriate locations
based on the data gathered in the research phase on how the car is actually started and stopped.
I would then place the rest of the interior pins and tune the smoothness of pin selection as the player moves left and right in the seat.
Finally, I would adjust and tune the camera motion overrides between the inside and outside of the car
to ensure that the animation for getting into and out of the car was as smooth as possible.
This would conclude the work on the driver's seat.
I would then mirror all the pins, cameras, and scripts to the passenger side.
Most of this would work ok as is, but often the interior pins and the smoothness of pin selection would need further tuning.
If the car had no passenger seat, as is the case with many race cars, then mirroring would not work at all,
and I would need to set it up as if it were a completely different seat.
And of course, if there were additional seats, this entire process would be applied to them as well,
from the entry, to the interior setup, to the tuning, mirroring, and testing.
Cinema Selection
Each car can feature up to nine types of tour pins,
six of which are selected by the Forzavista designer from a selection of premade generic cinemas.
Basically, all this phase involved was watching the generic cinemas and choosing the best ones for each of the tour pins,
and writing bugs as necessary for cases where none of the generics worked.
(Eventually I began fixing such bugs on my own, and I will discuss this further in the CINEMATIC DESIGN category on this page.)
I would also save this bit of work until I had completed all other Forzavista work on a car,
treating it as sort of a victory lap because this was the easiest of the tasks I needed to do.
Testing and Review
Another reason that I liked to save the cinema selection until the end is because it would take my mind off the pins,
camera overrides, and scripting that I had added to the car.
This allowed me to be as fresh as possible for a final test that
I liked to do on each car to make sure I hadn't missed anything or made a silly mistake.
Once I felt confident in the Forzavista experience on the car it would be reviewed by the lead or a peer.
Any minor problems found would be fixed during the review, and after this was complete all files would be checked in.
I would then set the car as final in the scheduling software, and update the hours I worked on it both there and in a personal tracking sheet.
Was that really brief?
This was a high level gloss over of how the magic of Forzavista is added to a car.
I left out quite a few details as I was worried they might be trade secrets
and if I really discussed everything that goes into Forzavista on a car I would need to make it its own category!
I hope this quick summary of the work I did helps to illustrate just how complex things were,
but I will add one final thing.
Almost everything in Forzavista is interconnected.
For this reason we often thought of it as a house of cards,
as one after the fact art or physics change could throw all our work into disarray.
If you were still hoping for a bit more detail then fear not,
the MEMORABLE DESIGN category on this page takes a deeper dive into some polish features and a few cars.